Home ||  Art  |  Books   Boats  | Garden | Orchard | Homestead Sew-Knit  |  Music  |  HikingBlog  ||  Contact 

 
Art

Steve...
   Bowls
      'In Progress'      
      Photo Archive
      

   Instruments
   Spoons
   Bio

Sue...
   Watercolors
   Fingerweaving
   Bio

How to Order

Contact Us


-  The Carving Process  -

'Cherry Delight' - Carved Cherry Bowl
by Steve Schmeck

bl-89-done

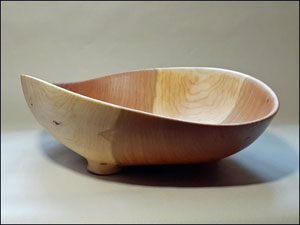
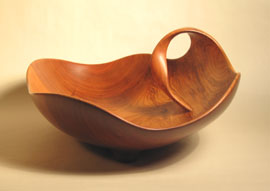
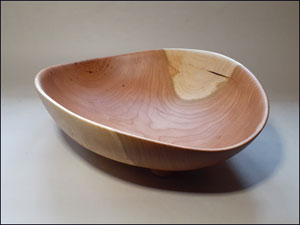
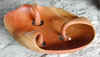
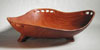
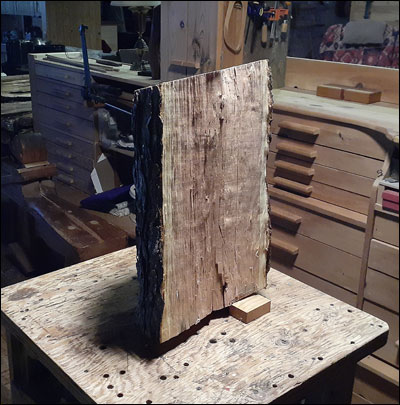
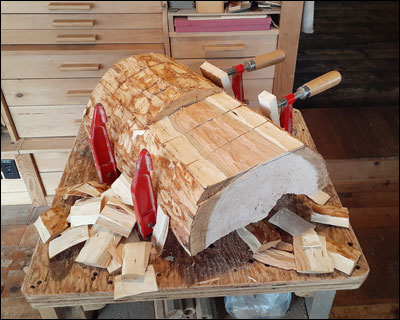
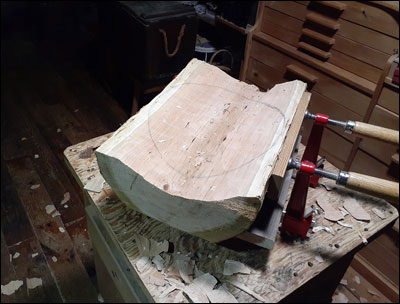
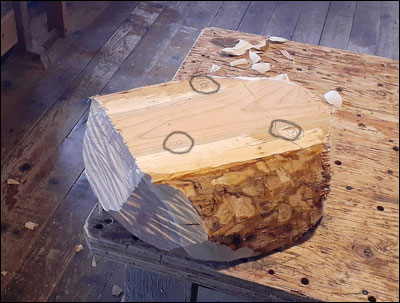
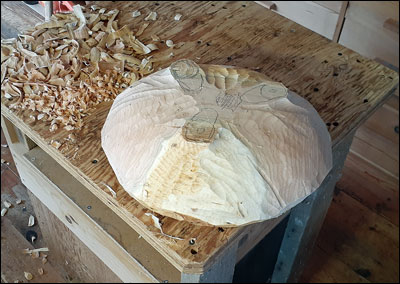
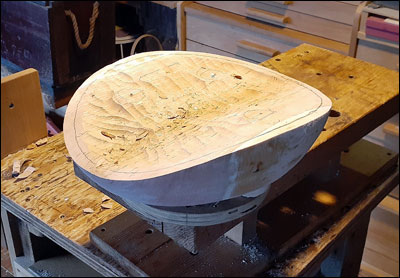
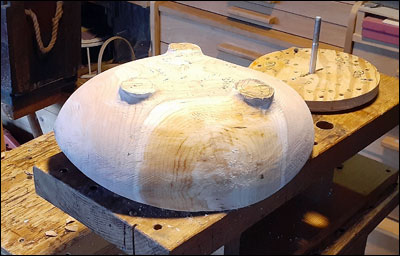
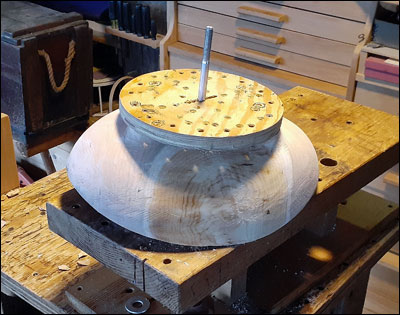
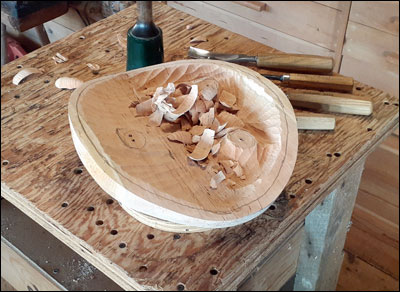
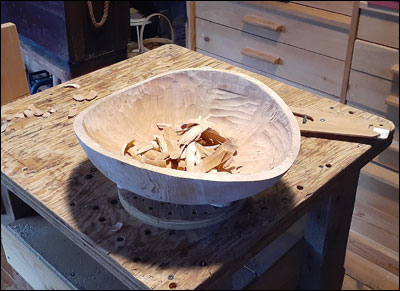
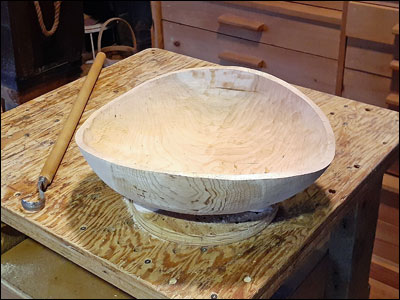
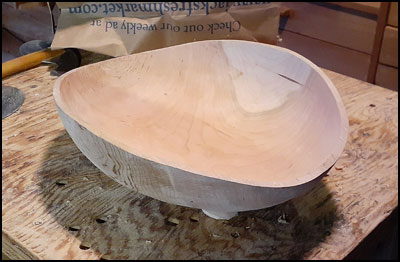
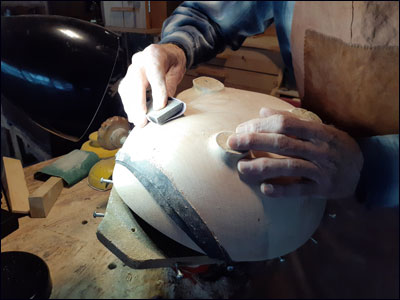
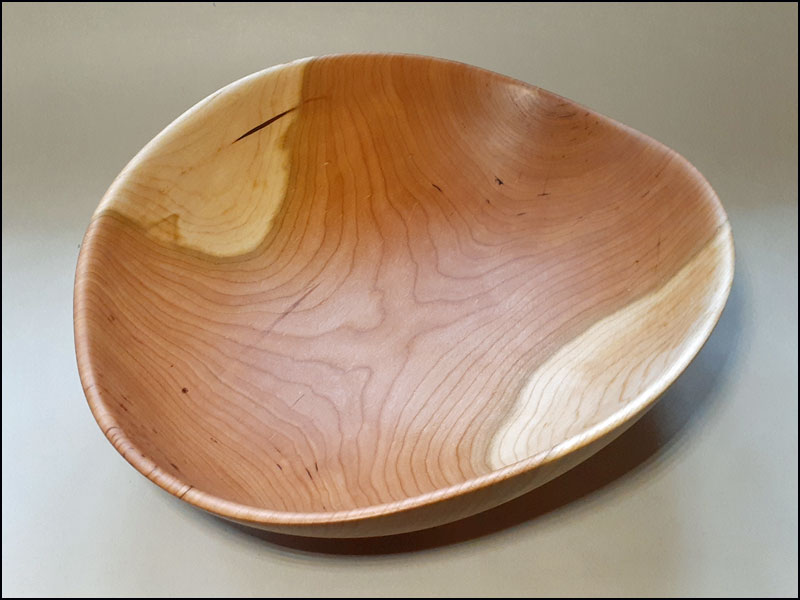
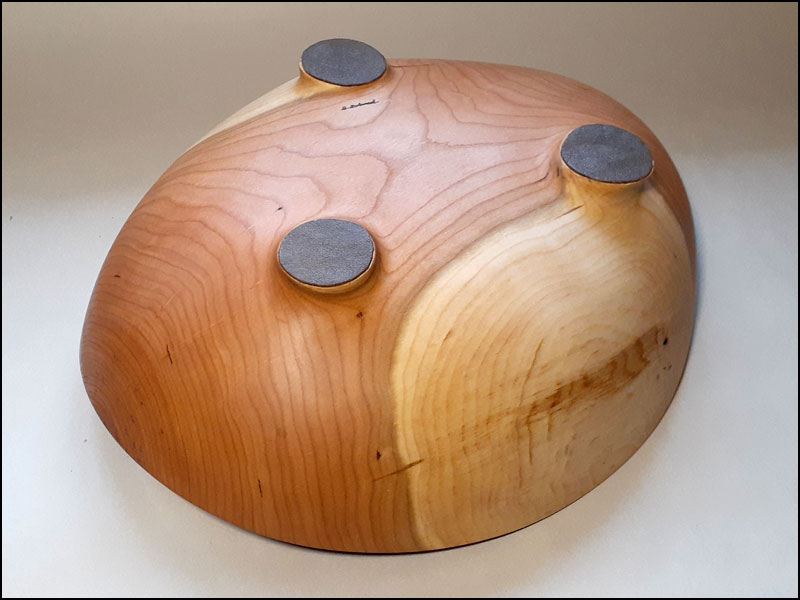
I began this bowl on December 1st, 2024 by sawing down a large black cherry tree that was in the way of an even larger, diseased  white birch that I plan on taking down next spring. The cherry was about 18" in diameter at the trunk; I cut this piece at a point about 25 feet from the trunk. It was approximately 12" in diameter and 18" long and when split in half weighed just under 35 pounds.

I've documented the carving process below.


 The Carving
 Process...


Rough half-log
(Fresh-cut, wet and heavy)

12/6/2024
Rough half-log
Roughing ...
(Flattening off the bottom)

12/6/2024
Roughing ...
Finding a bowl
(Locating the bowl - with some sap-wood on the outside edges.)

12/8/2024
Finding a bowl
Finding foot locations
(Looks like it will have three feet on quite short legs.)

12/9/2024
Finding foot locations
Shaping the bottom
(All gouge work for a while)

12/10/2024
Shaping the bottom
More bowl-like ...
(I've marked the rim about 1/2" thick. When done it should be about 5/16". Right now it is a wooden bowl full of ... wood.)

12/12/2024
More Bowl-like ...
Bottom shaped
(About as far as I can go with the bowl this green & wet.)

12/12/2024
Bottom sommthed
Holding fixture
(Screwed into the bottoms of the feet)

12/12/2024
Holding fixture
Beginning hollowing
(A lot of gouge work yet to do but it is beginning to look more like a bowl.)

12/13/2024
Beginning hollowing
Chip by chip ...
(The bowl is mostly about 1/2" thick now.)

12/14/2024
deeper ...
Thinning ...
(The bowl is mostly around 3/8" so now I need to be quite careful while shaving and scraping. That hook-shaped scraper is the main tool for this phase.)

12/17/2024
... getting there

The video on the right shows how I'm carefully thinning down the bowl.
I'm using a modified gooseneck scraper. At this point I'm aiming for ~5/16" thickness.

Well, it is getting closer to how thin I want it. Probably is between 5/16" and 3/8" and that should give me room to complete the final shaping and sanding without getting too thin. I kind of like it the way it has come along and will finish it simply. If it needs any decorative work I can do that later. Getting there ...
Sanding stage! I'm refining the shape of the feet and will work on the rim next. Down to 220-grit sandpaper right now, heading to 400-grit. The bowl weighs only 18 oz. now so it has lost around 34 lbs. so far.

1/3/2025
... sanding...

The first bowl of 2025 is done! It went pretty quickly as these things go and turned out just fine with me. Over the next few weeks I'll add several more applications of 100% pure tung oil, sanding with 400-800 grit sandpaper after each coating.

1/8/2025 
bl-89-done
(You can click on any of these final four photos to see a larger image.)

Use your 'BACK' button to return
.
bl-89-done
              ...  bl-89-done
As you can see, this cherry piece has quite a bit of character. I wanted it to have short legs but I cut it a little close. The leather foot pads raise the bowl some but there is only about 1mm clearance under the middle. Overall the bowl feels nice and I'm looking forward to carving more this winter. bl-89-done 


[Back to Top]


Steve's Bowls Archive
Photos and larger images of some of the bowls I have carved over the years.


     Home ||  Art  |  Books   Boats  | Garden | Orchard | Homestead Sewing  |  Music  |  HikingBlog  ||  Contact