|
Introduction:
[March 18,2023]
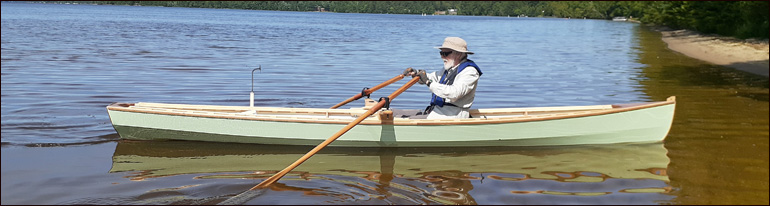
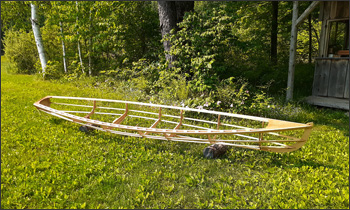
This will be our fifth skin-on-frame boat build. Although the photo above looks somewhat like a
smaller version of our Chamberlain Gunning Dory it is a totally different design also by Dave Gentry.
As designed his 'Ruth' high performance wherry would be 18' long with a beam of 33" and could weigh
as little as 45 lbs. Our slightly modified version will be 16' long and will have an inch more freeboard
(depth).
I've made these changes for a couple of reasons. Length: 1)We have found
that 18' boats are a bit longer than is easy to store in our boat shed.
2) Shorter means lighter, and 3)rowed/paddled boats 16' or less don't need to
be registered in Michigan. It seemed prudent to add a little depth to the
hull for safety while rowing on Lake Michigan and because of the slight
reduction in buoyancy caused by shortening the boat.
One other minor change will be the use of heavier, 13 oz. polyester fabric
rather than the specified 8 oz. material. As it turns out that lighter
fabric is no longer available from George Dyson or any of the other sources
I've researched. This 13 oz. fabric is the same as the material we used to
cover our dory back in 2015 and it has held up really well.
[March 30, 2023]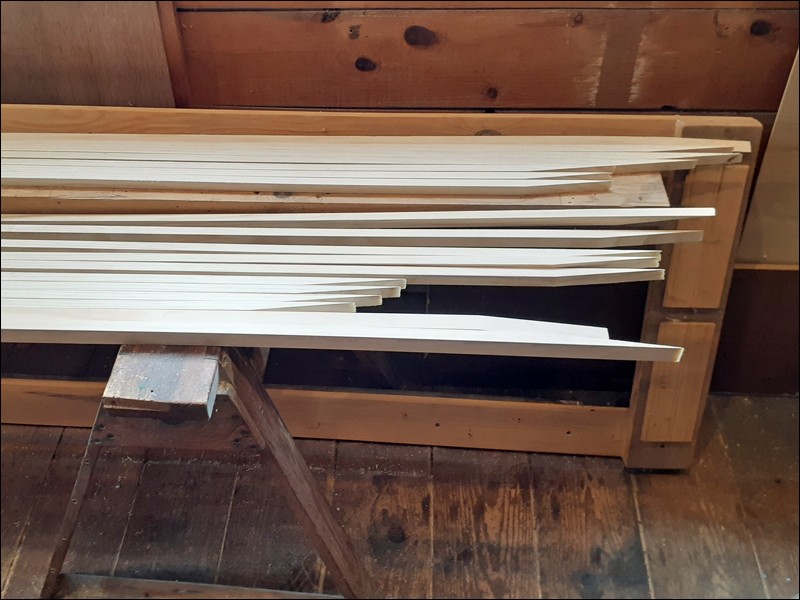
We have had a few nicer days with daytime temperatures predicted up into the
upper thirties so I fired up the woodstove in the boat shop and got to work.
I have ripped out all of the long pieces; gunwales, inwales, chines & keel,
and have made the 7:1 scarf cuts so they are ready to be glued end-to-end to
make them 18' long.
The wood I'm using is Radiata pine, the nicest knot-free wood available in
the area. It is a little heavier, stiffer and stronger than the specified
western red cedar so all these stringers have been scaled down in
cross-section about 25%. This should allow the stringers to bend more easily
yet still be at least as strong as if they were red cedar.
[March 31,2023]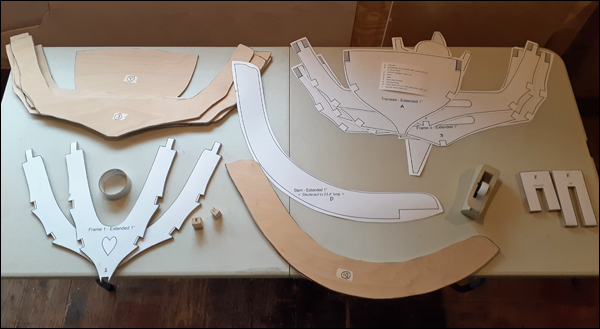
I cut out the individual parts on the full-sized printed plans, laid them out
and traced them on some 1/4" Baltic Birch plywood. They are all now roughly cut out with a
scroll saw and ready to be cleaned
up on the band saw. A nice cozy 55° in the shop today.
I also laminated two stem pieces so the finished stem is 1/2" thick per the
plans.
[April 1, 2023]
We got over 7" of heavy, wet snow last night so I
spent quite a while shoveling which meant a late start in the shop this
morning. By the end of the day I had all of the frames cut out to their
final size and shape and began the process of getting each frame ready to be
placed on the strongback for assembly.

The plans called for the frames to be made from 1/2 marine plywood -
something not available locally. Dave Gentry says it is OK to substitute
when necessary so I've come up with something that is admittedly not normal
for this sort of thing but here it is:
As I mentioned above, the frames are cut out of 1/4" Baltic Birch plywood
and I am adding reinforcement pieces at all points where the gunwales,
chines and keel meet the frames. This will give me a 1/2' thick spot to
screw and glue each joint and generally strengthen the frames. I could have
just cut out a second set of frames and laminated them to be 1/2" thick but
they would be quite a bit heavier than my new system. Those little
reinforcement pieces (all 42 of them) were cut out of scrap. I knew I'd kept
all those little chunks of plywood for something.
[April 13, 2023]
We have had some nice warm spring days and
most days I have been working on the boat. The individual frames are
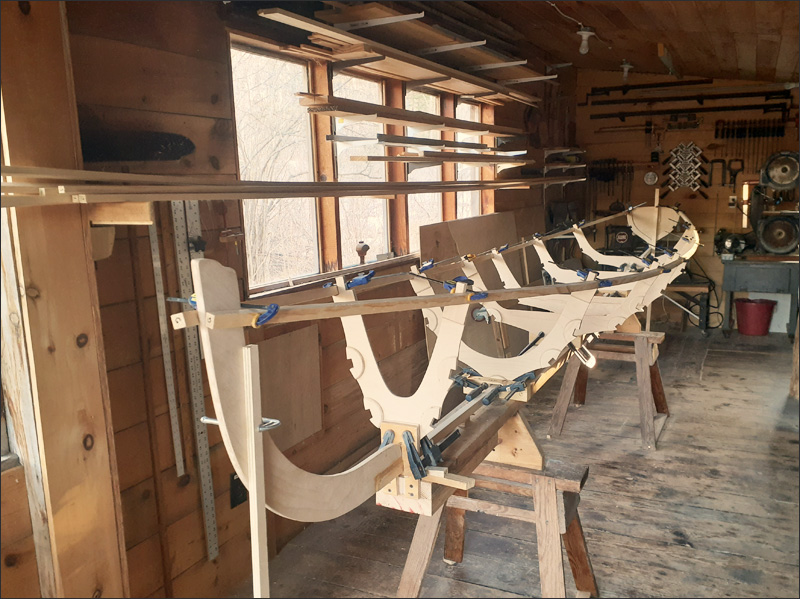
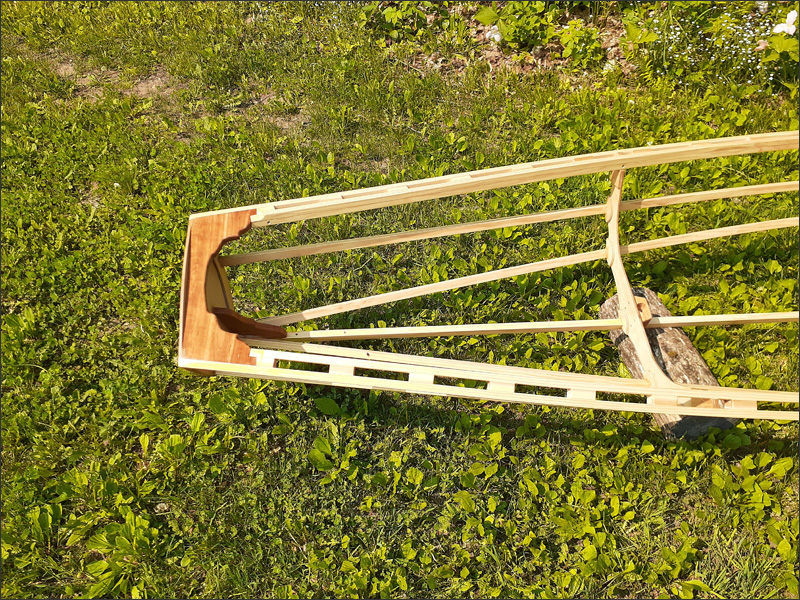
completed and set up on the strongback. Today Sue noticed that it looked like the rowing seat was quite far forward
so I did some research and measured the expedition rowboat and decided to
move the center three frames around a bit to get the rower's weight in a
more balanced position. The frames that support the seat are now about 6"
toward the back of the boat and I extended the space where your legs & feet
go by about 2 more inches. Overall I like the look of the boat in this new
configuration. The widest part of the boat is somewhat farther aft and that
should make it easier to steer. In the photo the bottom half of the gunwales
are just clamped in position. The next step is to screw and epoxy them
permanently in place and then laminate on the upper halves. The laminated
gunwales will be stronger and help the boat keep its shape. Clicking on any
of the images should give you a larger photo.
Today Sue noticed that it looked like the rowing seat was quite far forward
so I did some research and measured the expedition rowboat and decided to
move the center three frames around a bit to get the rower's weight in a
more balanced position. The frames that support the seat are now about 6"
toward the back of the boat and I extended the space where your legs & feet
go by about 2 more inches. Overall I like the look of the boat in this new
configuration. The widest part of the boat is somewhat farther aft and that
should make it easier to steer. In the photo the bottom half of the gunwales
are just clamped in position. The next step is to screw and epoxy them
permanently in place and then laminate on the upper halves. The laminated
gunwales will be stronger and help the boat keep its shape. Clicking on any
of the images should give you a larger photo.
[April 26, 2023]
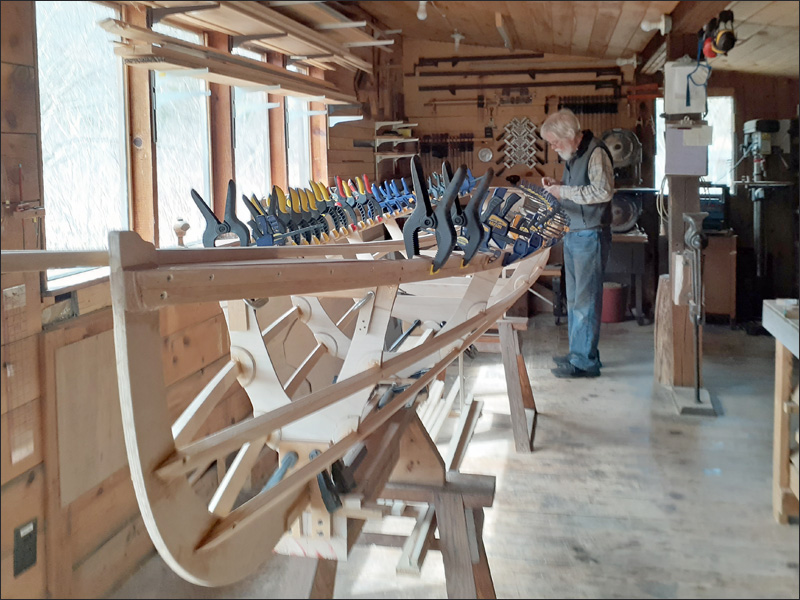
I have been working on the boat pretty regularly
and it is coming along fine. In this photo you can see that the gunwales and stringers are securely glued in place and I am
gluing on one of fifty (50) 2" x 1¼" cedar blocks evenly spaced along the
inside edge of the gunwales. Once the glue is dry I'll begin adding the
laminated inwale pieces to complete that structure. This creates a very
strong and stable sheer of the boat. Boat building is sharing time
with spring chores. We're heading into a bit of a rainy period so things
should progress a little more quickly.
can see that the gunwales and stringers are securely glued in place and I am
gluing on one of fifty (50) 2" x 1¼" cedar blocks evenly spaced along the
inside edge of the gunwales. Once the glue is dry I'll begin adding the
laminated inwale pieces to complete that structure. This creates a very
strong and stable sheer of the boat. Boat building is sharing time
with spring chores. We're heading into a bit of a rainy period so things
should progress a little more quickly.
[ Back to Top ]
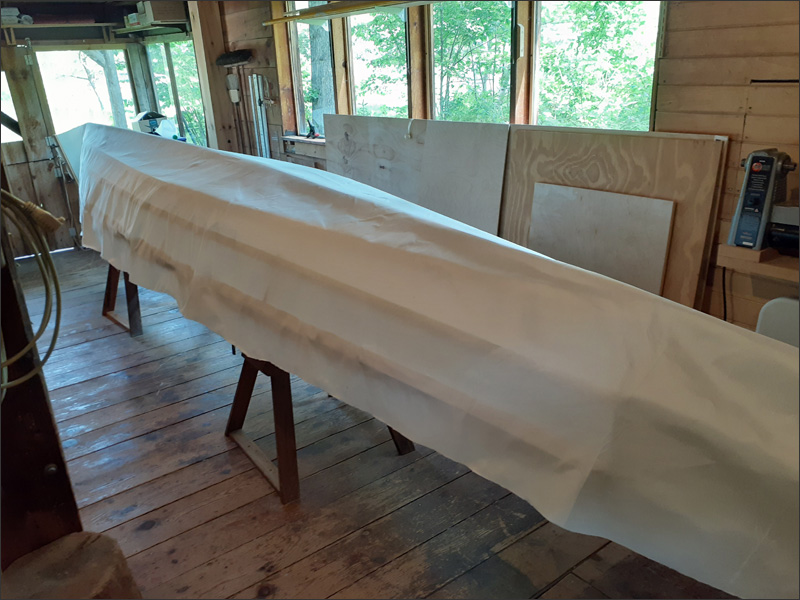
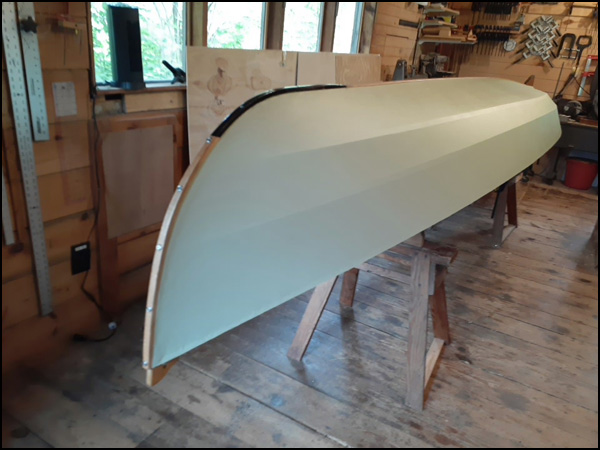
[June 10, 2023]
Well, it has been entirely too long since I've
posted an update here. As usual this time of the year I've been splitting my
time between boat building, homestead projects, biking, and even
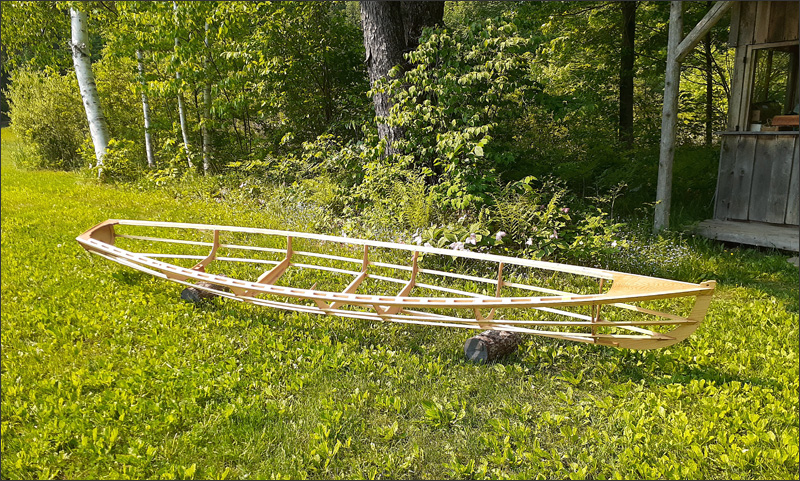
a bit of rowing. As of today the frame has been completed, sanded, oiled and
skinned. Today's project is to finish shrinking out any remaining wrinkles
with my 'shop iron' set on high and then putting on the first coat of
water-based spar polyurethane varnish. I'll follow up with at least two more
coats and then begin painting. The decision to paint the boat rather than
leave it translucent was settled by having smashed a full mosquito on the
fabric - not
pretty! At any rate, here are a few photos of the frame before skinning and
one in the skinning process. Click on any image to see it
enlarged.
[June 14, 2023]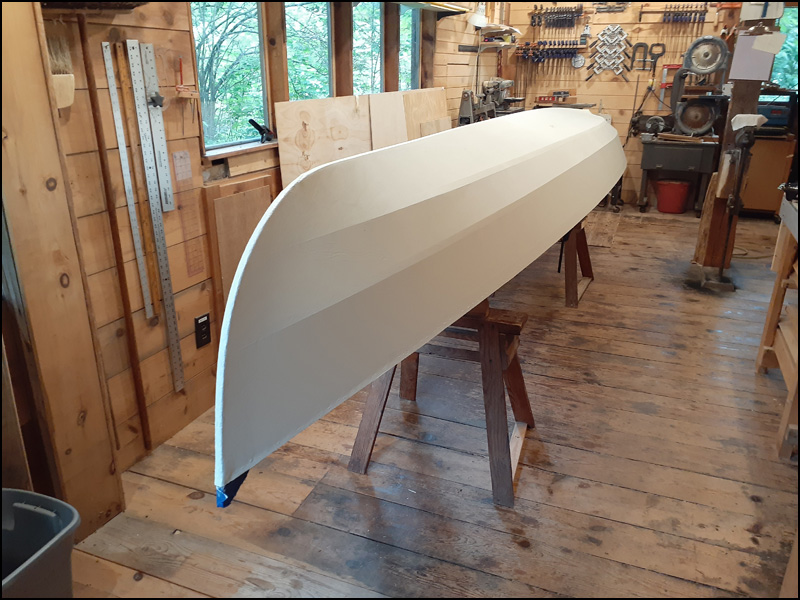
A couple of days ago I applied two coats of water-base polyurethane varnish
as primer to the hull and today put on the first coat of 'Essence of Green'
(pale green) acrylic latex porch and deck paint. It looks good but will
probably need a couple more coats both for protection and waterproofing and
to even out the opaqueness.
It is possible that the boat will be ready to launch by the 4th of July!
[ Back to Top ]
[June 26, 2023]
After putting on a few coats of that pale green paint Sue advised me that it
was just too pale so I bought some slightly greener paint and I have to
admit that it does look better. Being red-green color blind doesn't make
these decisions real easy so I do appreciate Sue coming to the rescue. I
think I have three, maybe four coats of the new color on and the painting is
done.
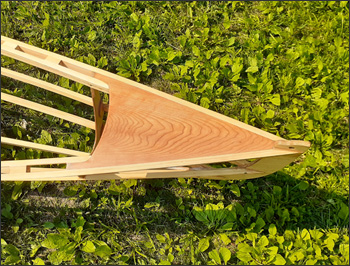
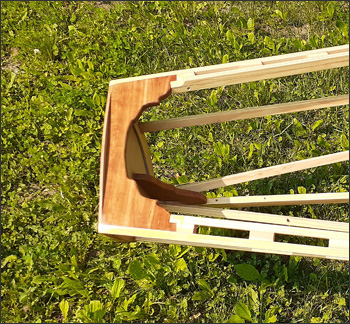
The first photo shows the laminated oak stem protector temporarily in place
and the second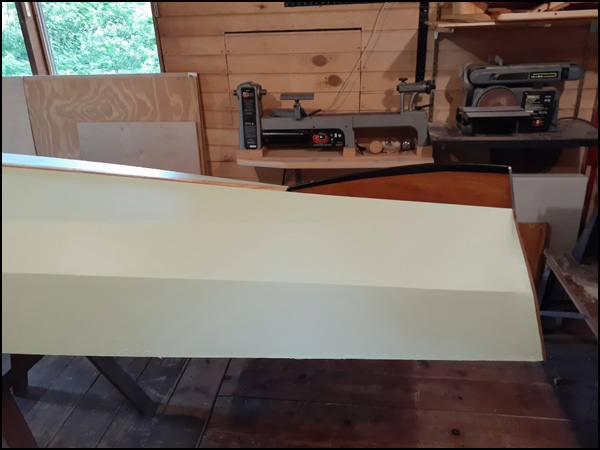 shot is of the skeg trial-fitted.
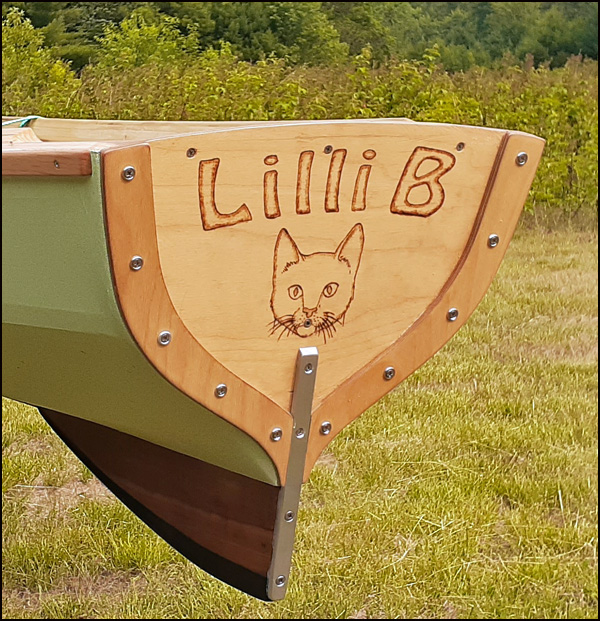
The way most builders of this design finish the transom is to wrap the
fabric over the edge a couple of inches and staple it in place. Then they
fold an inch or so of the fabric back over to hide the staples and fasten
that in place with upholstery tacks. I didn't really like the look so came
up with my own system - as usual. I just sawed out a couple of pieces of
1/4" plywood the shape of the outside edges of the transom and refined the
shape a bit to have them cover the fabric and two rows of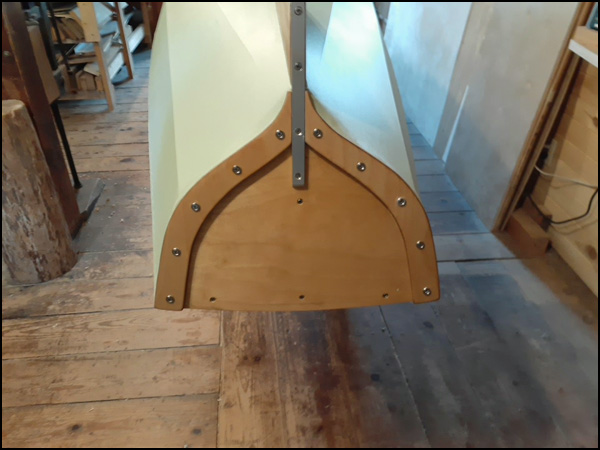 staples. They are fitted around the aluminum skeg stabilizer and held in
place by stainless steel screws with finish washers - similar to those on
the stem. It looks cleaner to me and is serviceable if needed.
staples. They are fitted around the aluminum skeg stabilizer and held in
place by stainless steel screws with finish washers - similar to those on
the stem. It looks cleaner to me and is serviceable if needed.
We flipped the boat over and I spent today fitting the gunwale rub
strips that both protect the edge of the boat and hide the staples that hold
the fabric in place. Those pieces and the keel rub strip are made from 1/4"
x 3/4" unfinished oak 'screen molding'. It looks nice and being oak is very
durable. The transom was varnished back when I put the first coats on the
fabric but all other wood is treated with tung oil. This worked out well on
our other boats and is especially nice because it is so easy to touch up.
.
[July 4, 2023]
Made it! - sort of, anyway. I was hoping to launch the boat by the 4th of
July although it is ready to go the weather didn't cooperate. It was 86° here this afternoon -
just too hot to enjoy being out on the water. The forecast is for a couple
of days of rain, which we will enjoy, then a couple of days with
temperatures in the 70's. I console myself knowing that these hot, dry days
ensure that the paint is drying well.
ready to go the weather didn't cooperate. It was 86° here this afternoon -
just too hot to enjoy being out on the water. The forecast is for a couple
of days of rain, which we will enjoy, then a couple of days with
temperatures in the 70's. I console myself knowing that these hot, dry days
ensure that the paint is drying well.
Speaking of paint, I suppose the project isn't really completed until I get
a coat of paint on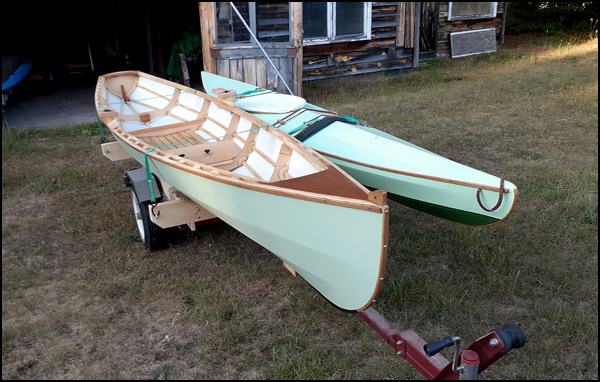
.
the new wooden trailer/boat interface.
I'll get some better photos soon. In the mean time, the I'll be cleaning and
reorganizing the shop. It is amazing how small the shop looks and feels
while a boat is in there and how big and bare it looks now.
| Here are some photos of the boat just before it was launched: |
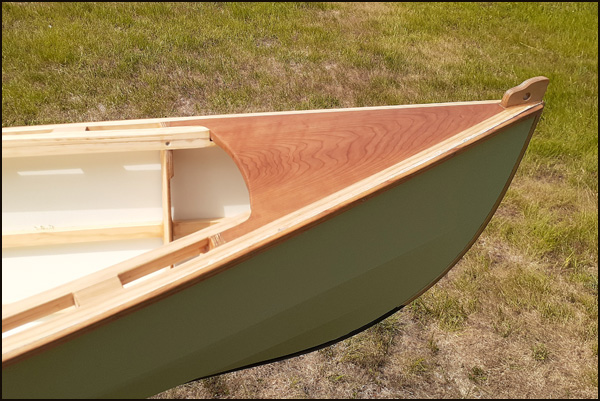
Breast hook |
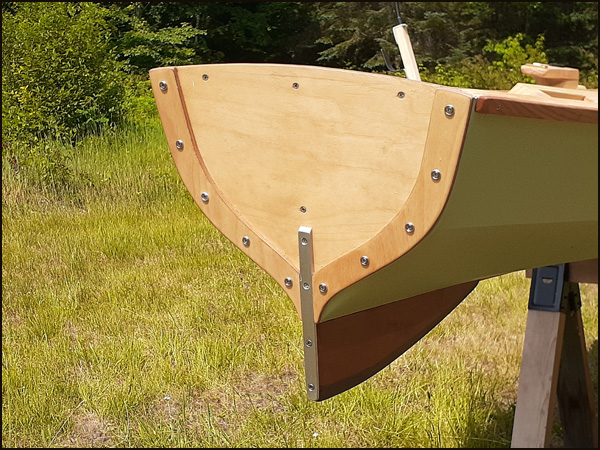
Transom
|
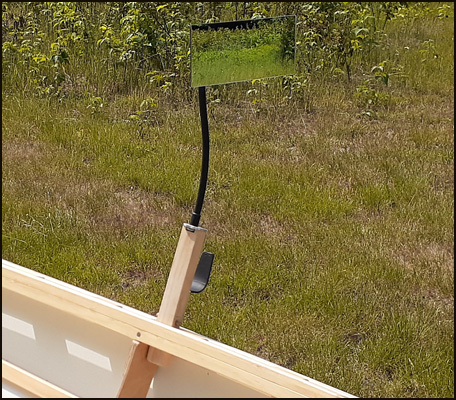
Mirror assembly |
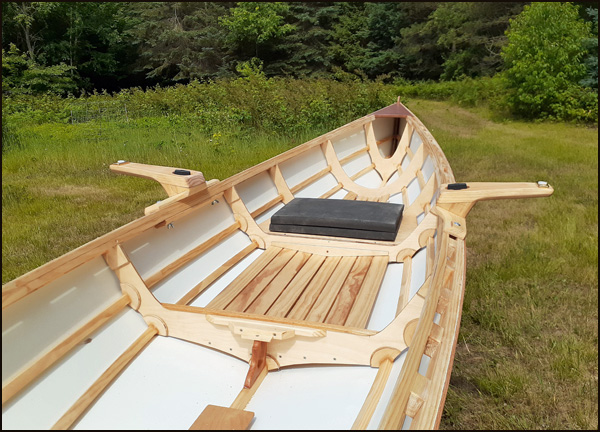
Riggers with fixed seat |
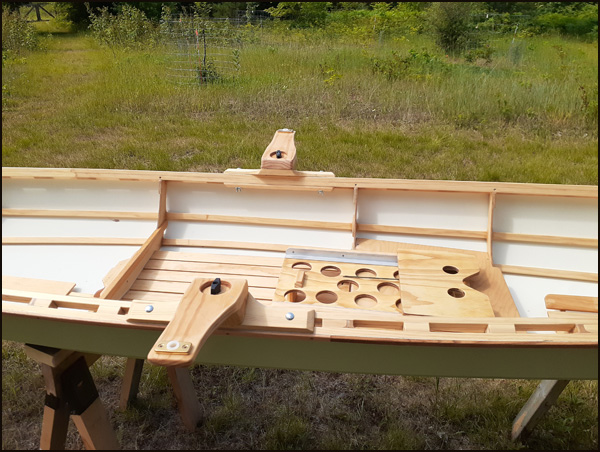
Riggers with Sliding Seat |
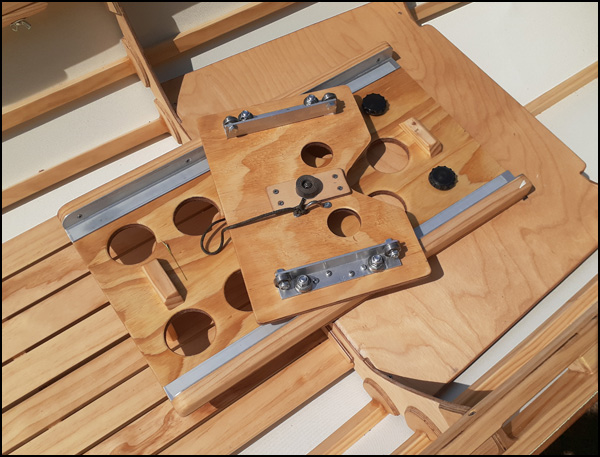
Sliding Seat Detail |
And now the boat has a name, "Lilli B" (short for
Lilli Bulero, our calico cat).
I burned the name and image with my trusty pyrography tool.
[ Back to Top ]

|