
|
Spring is almost here so it is time to build
a boat, right? This year I'll be building a pair of solo canoes for
exploring local rivers and creeks. |
|
|
- March 1, 2024 -
Over the last month or so I have been accumulating
materials for these boats; specifically some nice, clear 1x6 Radiata
pine boards for stringers and a 4' x 8' x 1/2"sheet of BS1088 okoume
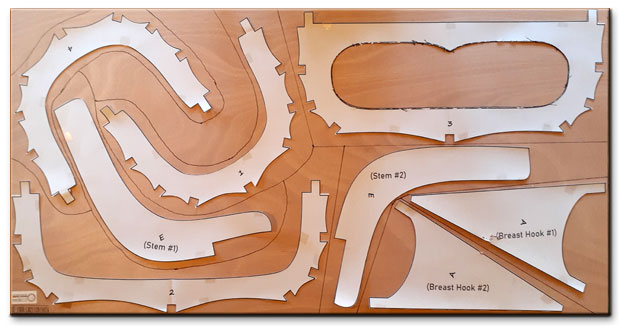
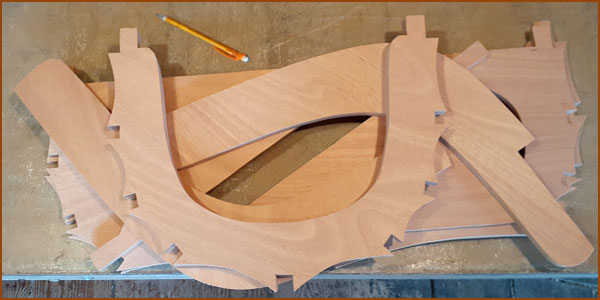
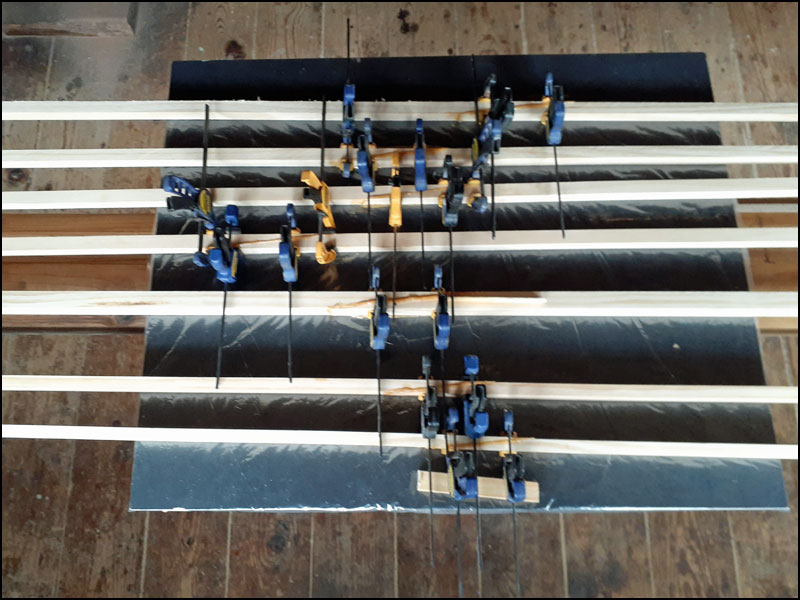
plywood. The plywood was a story in itself; ordered from our local Menards for $120 + $20 'special handling'. When it arrived at the store we took along my Makita cordless circular saw, a straight-edge and a couple of clamps. The warehouse person placed the well wrapped bundle on a couple of spacers on the ground with a fork truck and we went to work cutting the beautiful panel into four 2' x 4' pieces. Then we did the same thing to the two sheets of OSB that they had used to protect the plywood and loaded all 12 pieces into the back of our Subaru. I ripped the 6' long pine boards into 20 5/8" wide strips for the chines and gunwales, four pieces 1" x 1/2" for the inwales and two pieces 1" x 3/4" for the keel. These were then run through the table saw using my scarfing jig and then glued end to end in pairs to create a bunch of stringers 11'-6" long. The last step in this process was to run the ten stringers through the thickness planer to bring them down to 5/8" thick. Sue's canoe will be 10'-6" per Dave's plans since she is pretty light but this will be my boat and since I weigh about 140 lbs. I'm extending it a bit to 11'-2". A strange dimension I know but that's as long as I could make it using scarfed 6' long stock for the gunwales. Since I'm using stiffer, stronger, (heavier) Radiata pine instead of the specified western red cedar I have reduced the stringer dimensions from 3/4" x 3/4" to 5/8" x 5/8". That doesn't sound like much of a reduction but the smaller stringers are a lot easier to bend around those curves and will save some weight too. |
|
|
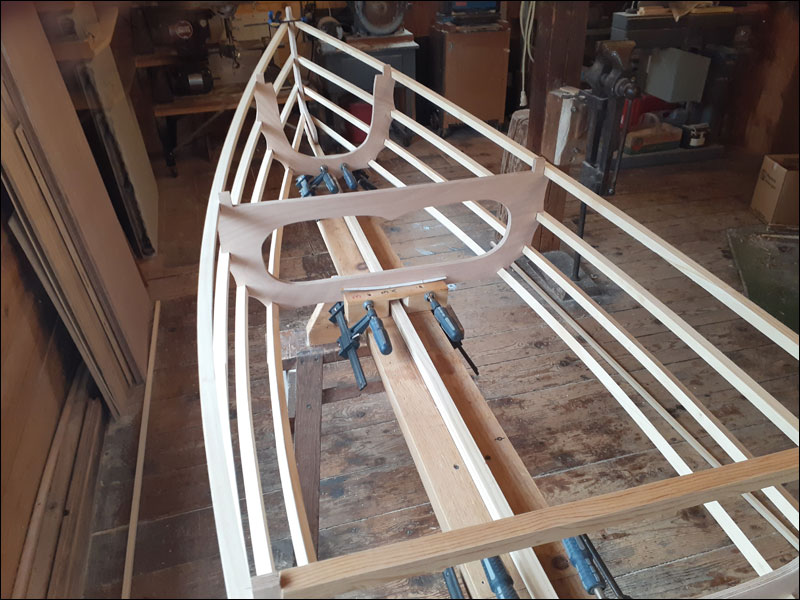
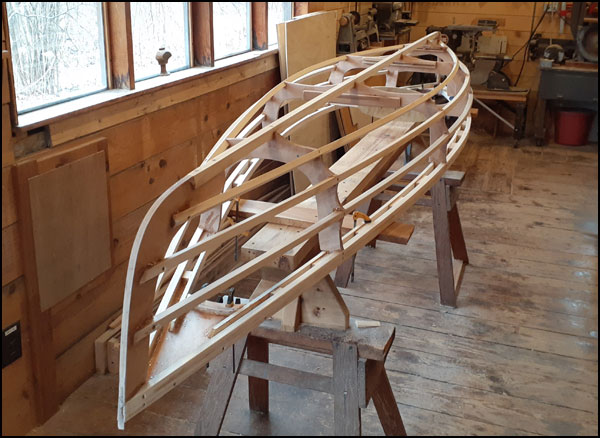
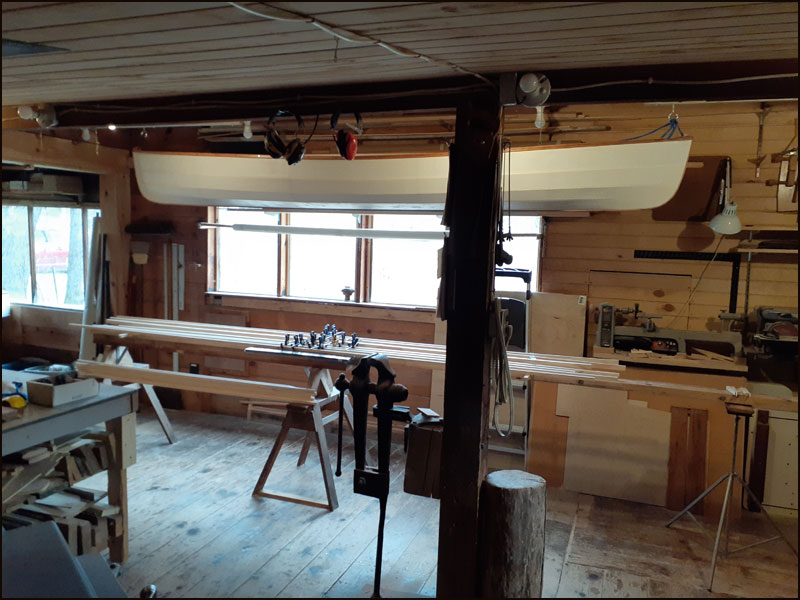
- March 16, 2024 - The frames are set up on the strongback and the first chine and lower gunwale pieces are clamped on to get a feel for how the boat will be shaped. I used some not-too-tricky math to determine where the frames should go, considering the modified length then adjusted them again to be sure the seat position would be close to where Dave said it should be. All very scientific. |
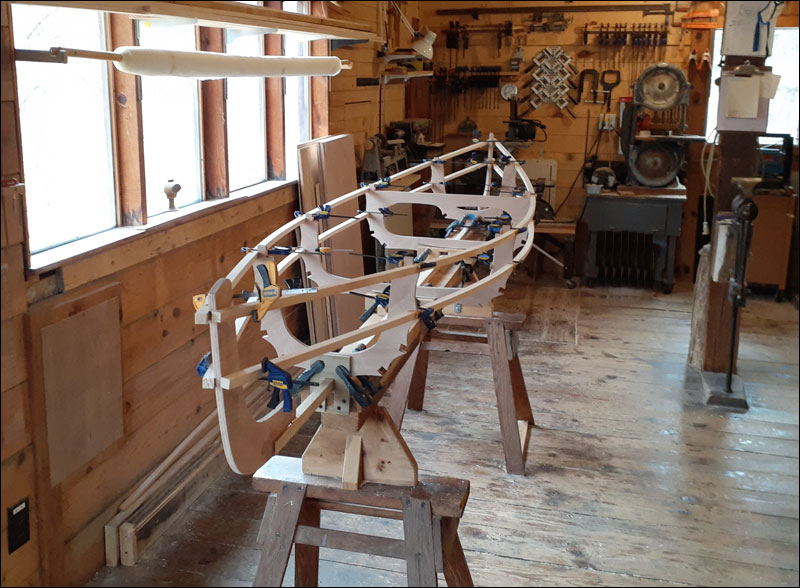 |
 Here's a view of the frame out on the
strongback today. The gunwales and chines are just clamped in place so
far. If you look real close you can kinda see that I added a 1/2" of
rocker to the keel. Dave has us laminating the gunwales from two pieces
to help keep the boat ends from being forced downward by the chines but
I thought I'd add a little rocker as insurance. |
|
|
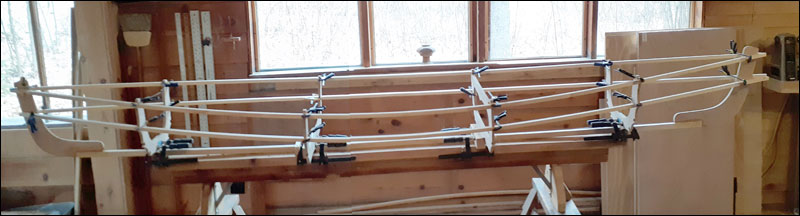
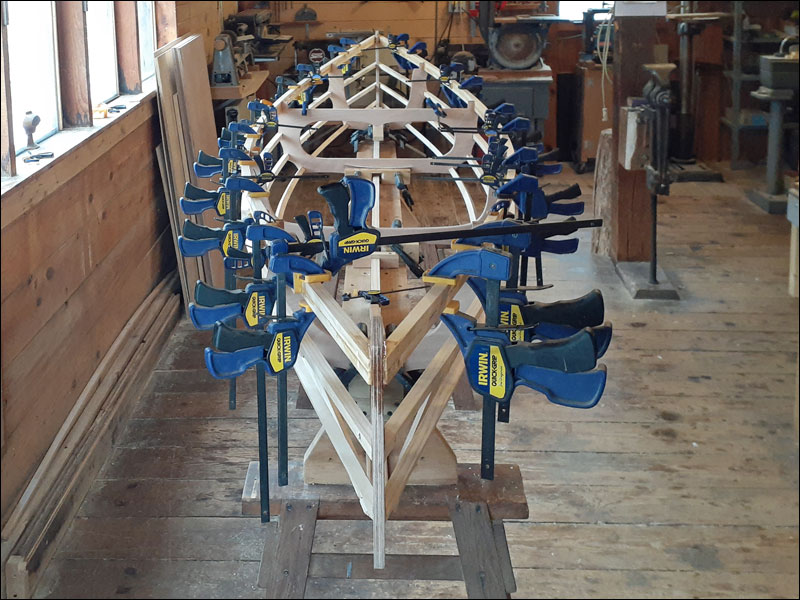
- March 18, 2024 -
We have had an unusually warm spell this
spring so work continues on the boat. I have now installed all
of the long pieces, screwing and gluing them in place to the stems and
frames. I noticed that the open-top frames seemed to be closing
up a little from all the bending forces, especially those
doubled up gunwales so I fitted some temporary braces across the
tops of frames 1, 2 and 4. The braces were sized to push the
tops of those frames back out to their original widths. - March 21, 2024 - We are waiting out a cold snap before trying to heat the shop warm enough to do some epoxy work. The Raka epoxy I'm using will cure in temperatures as low as 50°F with their '610- Fast' hardener but it is a bit too cold (12°) to keep the shop that warm, or preferably warmer, for any length of time. The next step is to use thickened epoxy to glue the two gunwale layers together and to glue the remaining chine/frame joints. |
||||||||||||
|
- March 22, 2024 -
The forecast
was for a high of 33° today so I fired up the woodstove early
and by lunch time it was nearly 60° in the shop. In about three
hours I had the gunwale laminations epoxied and fastened to the
frames - then another hour to clean up the thickening epoxy that
squeezed out. Not a particularly fun job but so much easier than
waiting for it to cure 'hard as rocks' and then trying to get it
to look good. Also, in the cleanup process I got to use some of
the extra epoxy to build up smooth filets around all the joints.
I've found that by spraying a little alcohol on a gloved
fingertip I can easily shape and smooth those filets. The next
step is to permanently screw and glue the rest of the chine
joints. I used most of my good clamps for today's gluing
project...
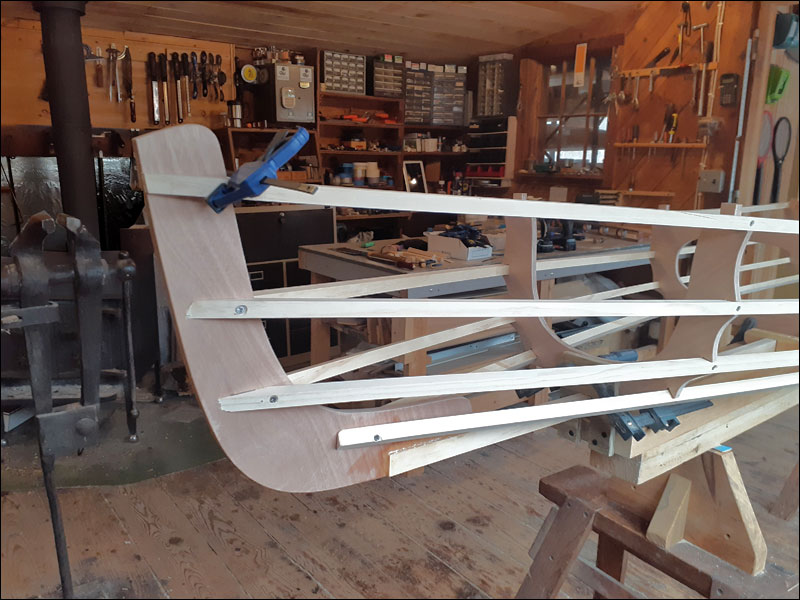
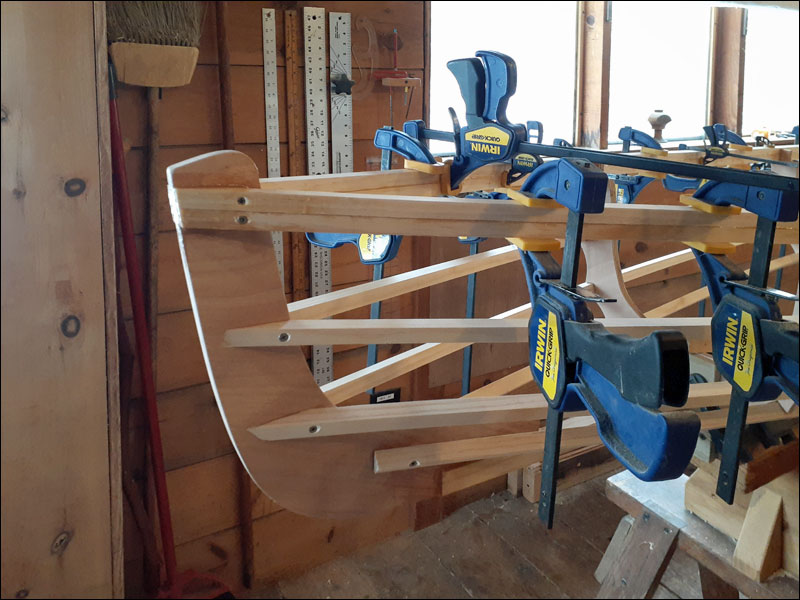
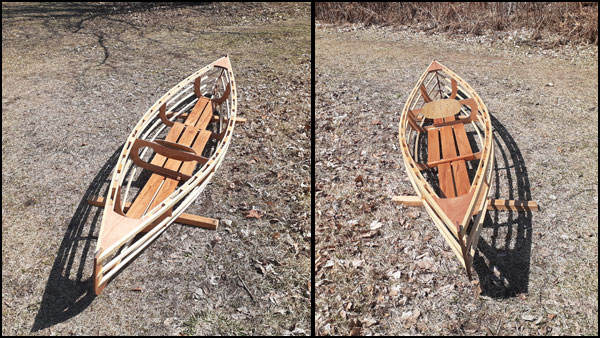
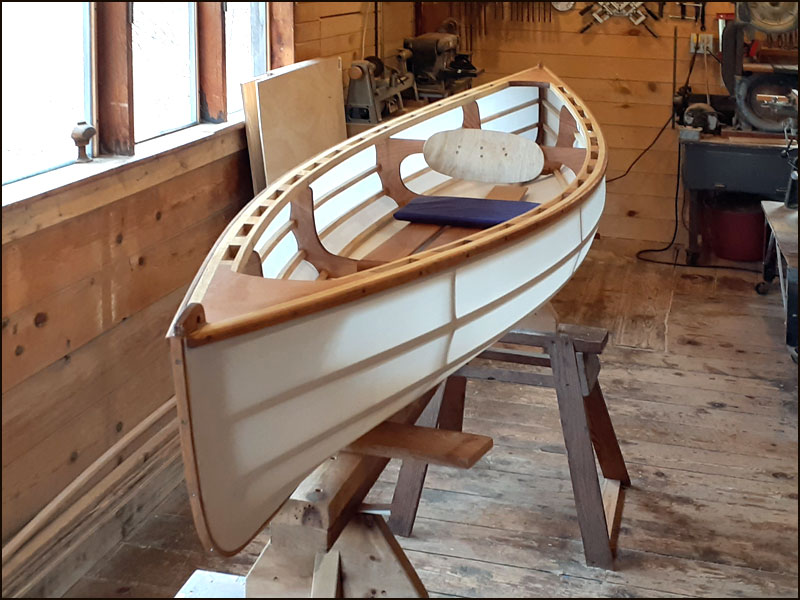
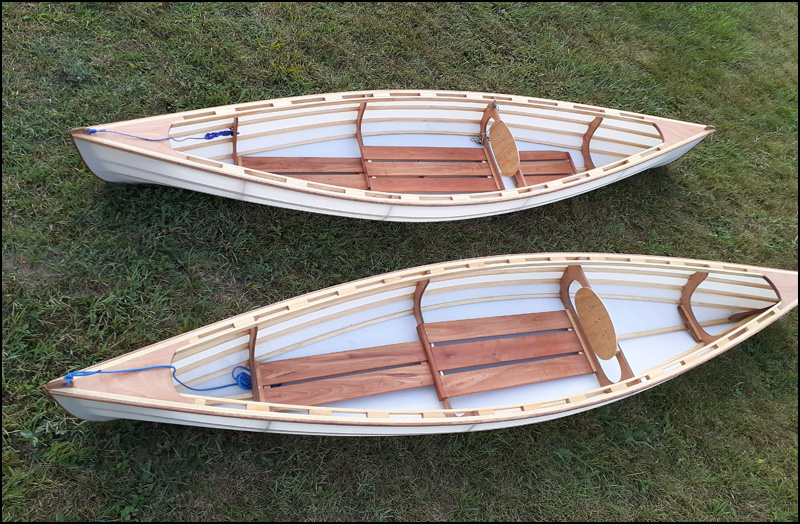
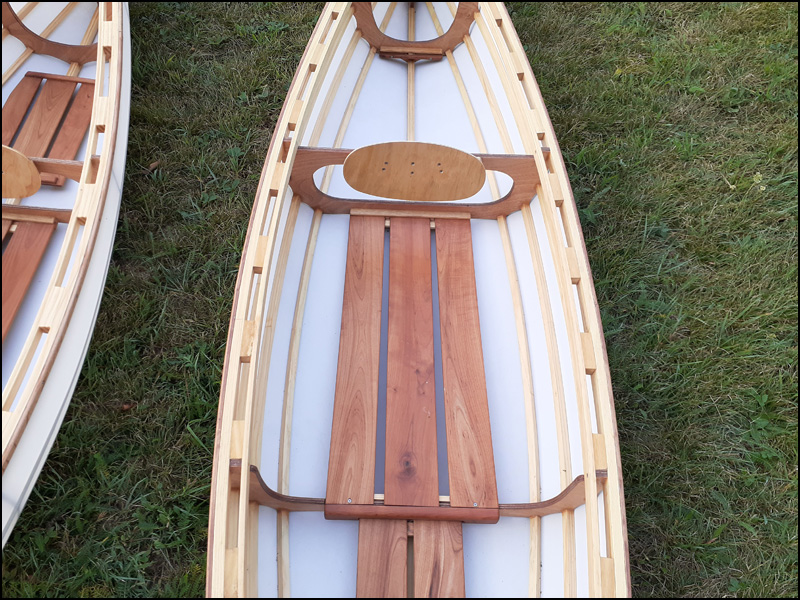
- April 4, 2024 -
I have been
working on the boat most days and it is coming along OK. The
frame is finished and sanded and today I finished the seat and
floor panels. They are made from some black cherry boards I've
been storing in the back room for at least 30 years. I planed
them down to 1/4" thickness and designed the seat and floor
panels so they will be easily removable for cleaning the boat.
The floor panels are designed to keep whatever I'm carrying in
the boat from resting on the skin. Here is a photo of the seat
panel in place:
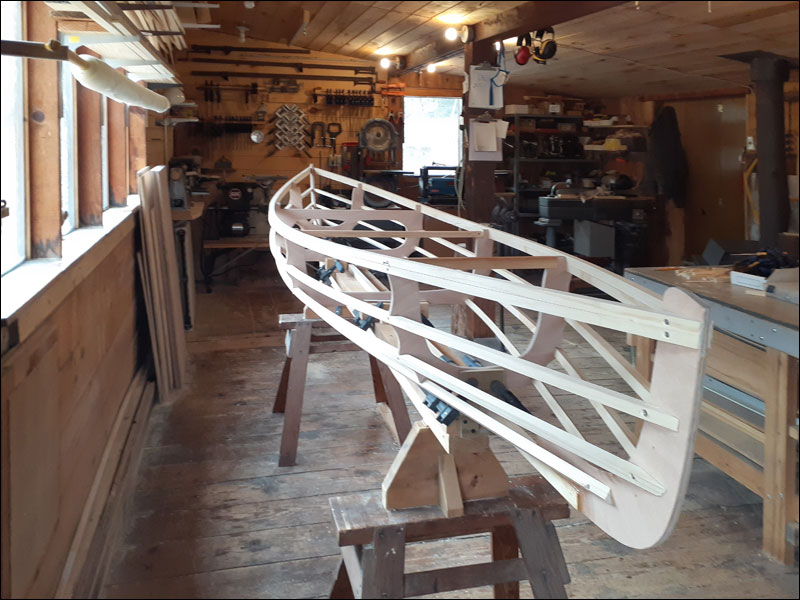
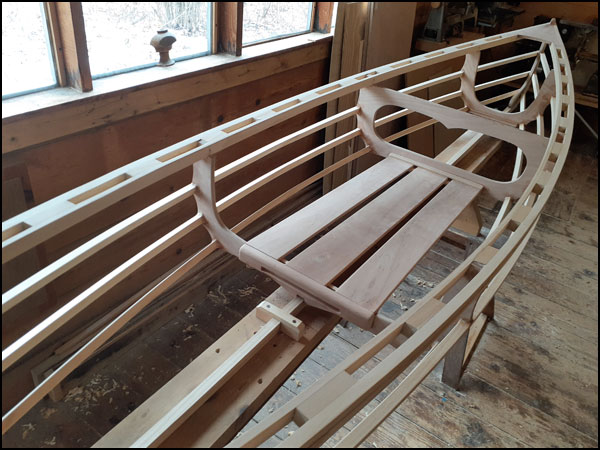
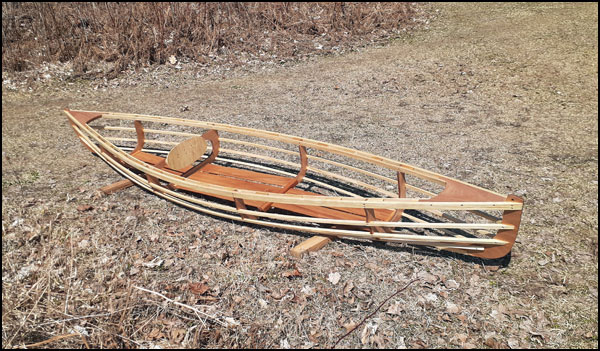
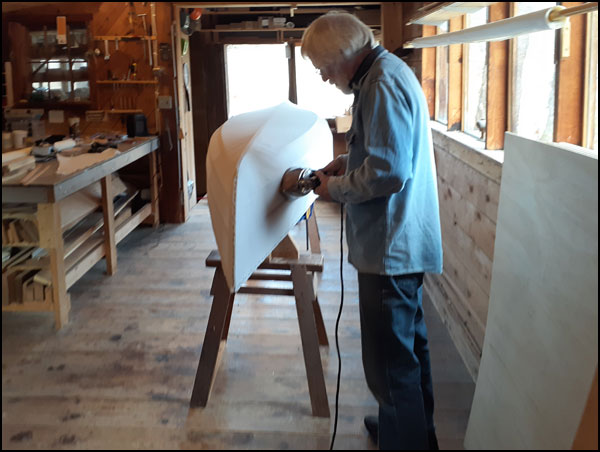
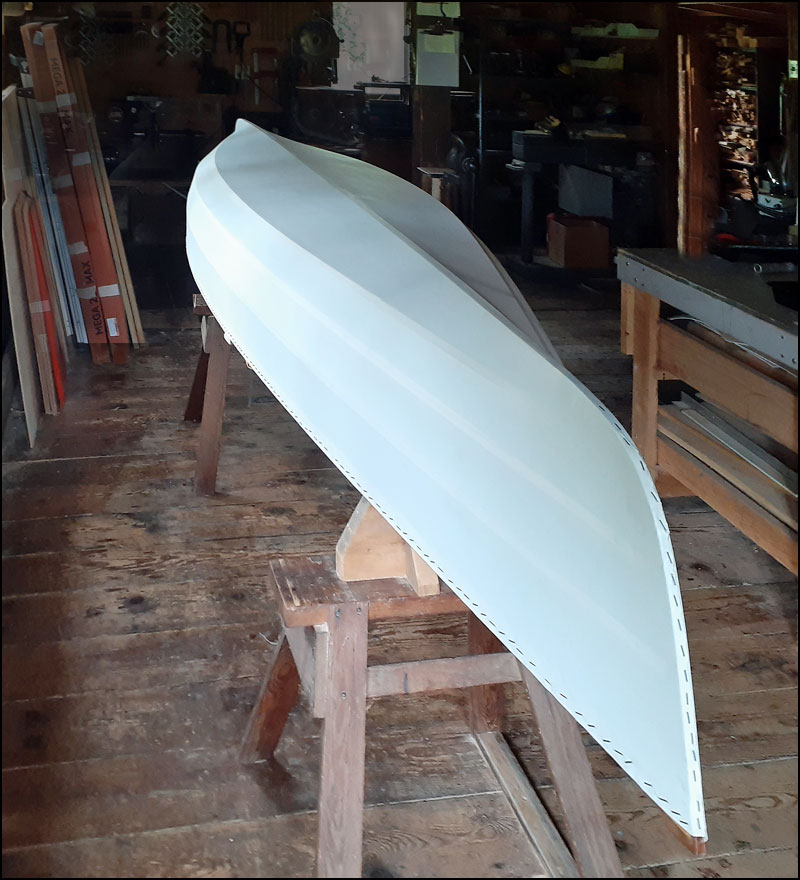
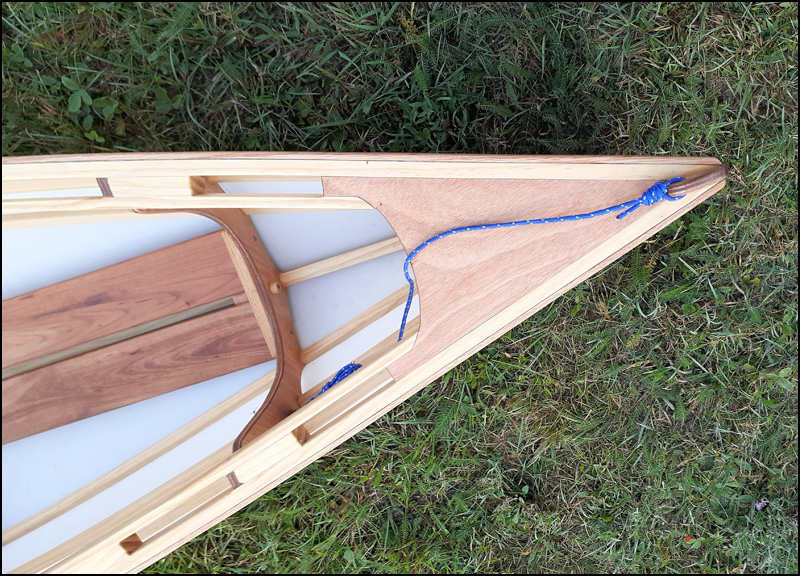
- April 9, 2024 -
We flipped the
boat over (easy) so I could fasten the keel to the frames and
generally clean up any epoxy drips. I also spent half an hour or
so with a cool
small angle grinder reshaping the outside edges of the
frames to ensure there is enough clearance between them and the
fabric between the chines. Here's how it looks today - ready to
be oiled. Although it doesn't show n the photo there is about an
inch of rocker in the keel.
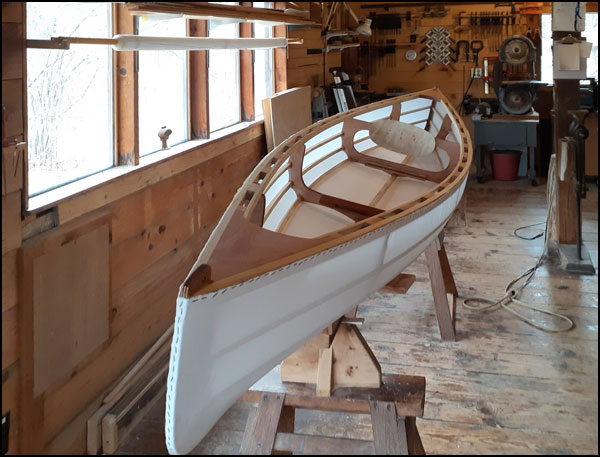
- April 10, 2024 -
Had a good day
in the boat shop today. I finished sanding every square inch of
the frame and put on a coat of pure Tung oil. The boat looks
better now since the messy looking epoxy drips and smears kind
of disappear under the oil. I'll let it cure for at least a day,
then it will be time to skin the boat. Here's what it looked
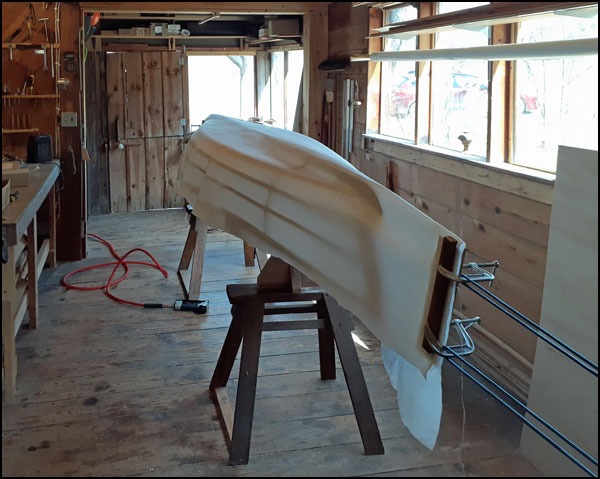
like out on the grass this afternoon: - April 20, 2024 - The boat went back inside and over the last week or so, as weather and homestead spring projects allowed, I have skinned it, ironed the skin smooth, and so far have applied 6 coats of Helmsman Water-based Spar Varnish. This finish seems to be more stable on the polyester than their oil-base spar varnish which caused a lot of wrinkles as it dried. I'm using a small roller and then 'tipping', lightly dragging a 4" foam brush over the wet surface to smooth out any uneven application and bubbles. The varnish is quite thin and it is slow to fill the weave of the fabric. Maybe a couple more coats to get the surface texture evenly filled. It dries quickly and with the shop heated to 60° or so I have been able to apply two coats per day. . |
||||||||||||
|
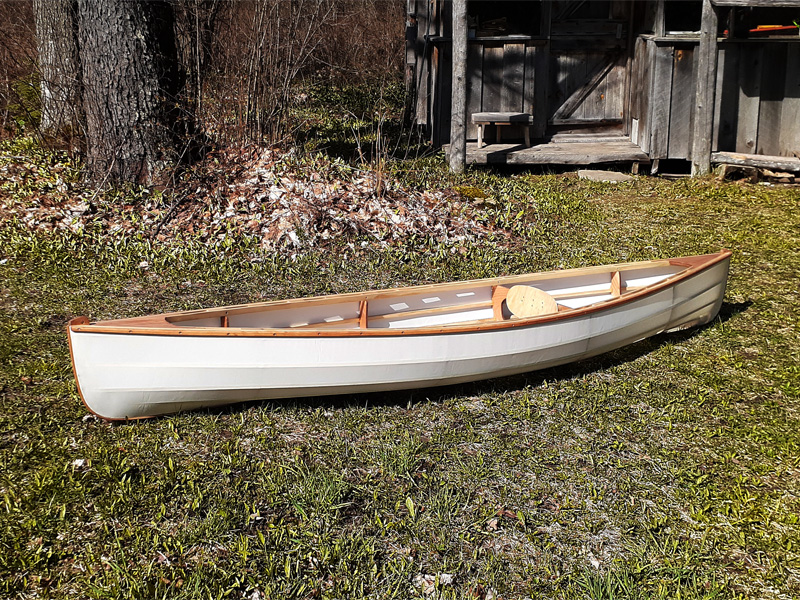
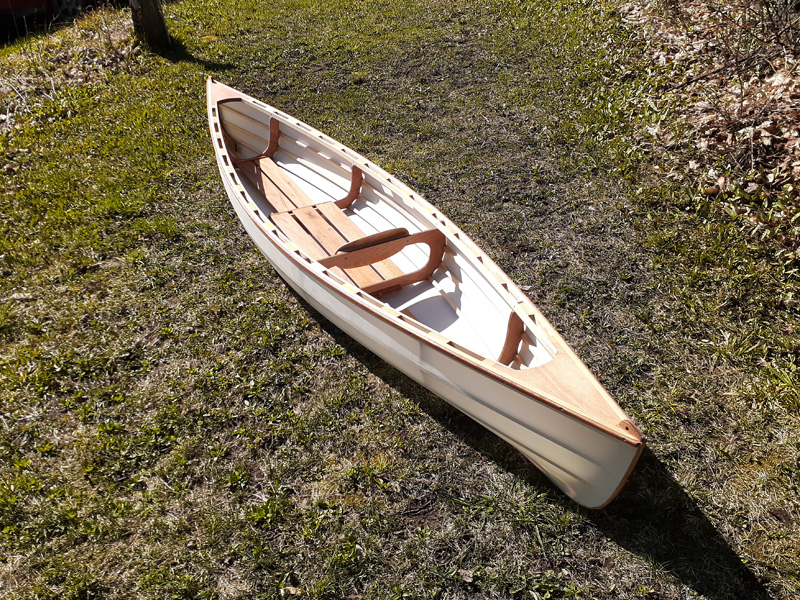
- April 23, 2024 - Finished this boat this morning but need to wait for nicer weather to get a good photo outside. Here it is in the shop.
And on a nicer day ... |
||||||||||||
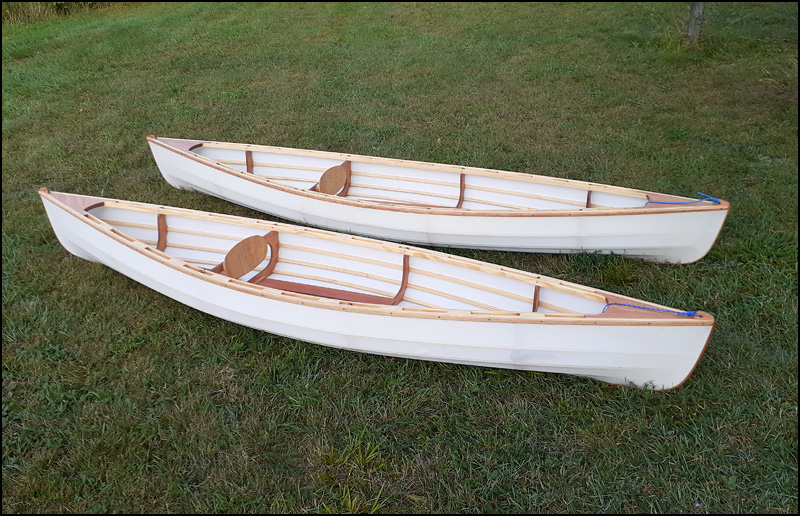
| - May 1, 2024 -
Onward to Sue's
boat! I'll buy another license for her boat as the plans allow
only one boat per set of plans. Fair enough; most of the money goes to
the designer. The original Wee Lassie canoe was 10'-6" long. I
stretched mine to 11'-2" because at 140 lbs. I 'm heavier than
the fellow the original was designed for but Sue's will be the
same length as the original. |
||||||||||||
|
||||||||||||