|
| ||
|
Bathing Suit
|
ManyTracks Sewing and Knitting
|
Socks
|
|
Design & Sew Your Own Hoods -
Attached or Not
How-to ~ Ideas
~ Inspiration |
||
|
It's amazing how something so simple and basic could make such a difference in comfort in cold or wind Since we live in a climate that can be either or both any day of the year it is not surprisingly that the most ubiquitous item of clothing around here (it seems) is the "hoodie" - a hooded sweatshirt. What is surprising is that many, if not most, jackets and coats are missing this important element, even windbreakers. Thankfully it is an easy retrofit. Though often thought of as an attachment to an item of clothing, a hood can also be appreciated as a stand-alone head cover, under or over a cap/toque/hat/beanie/helmet, or by itself, day or night. |
||
|
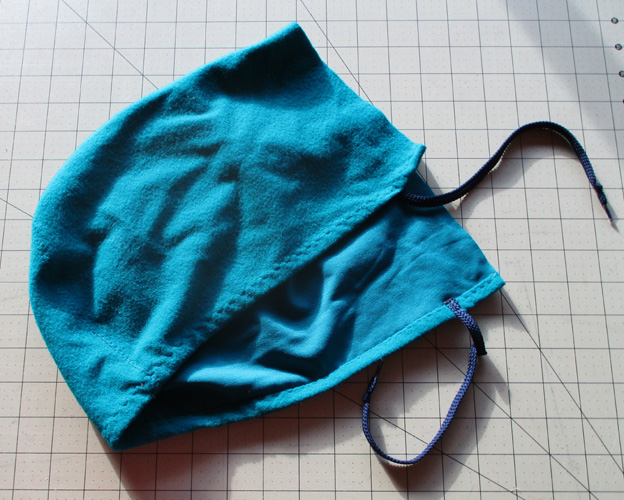
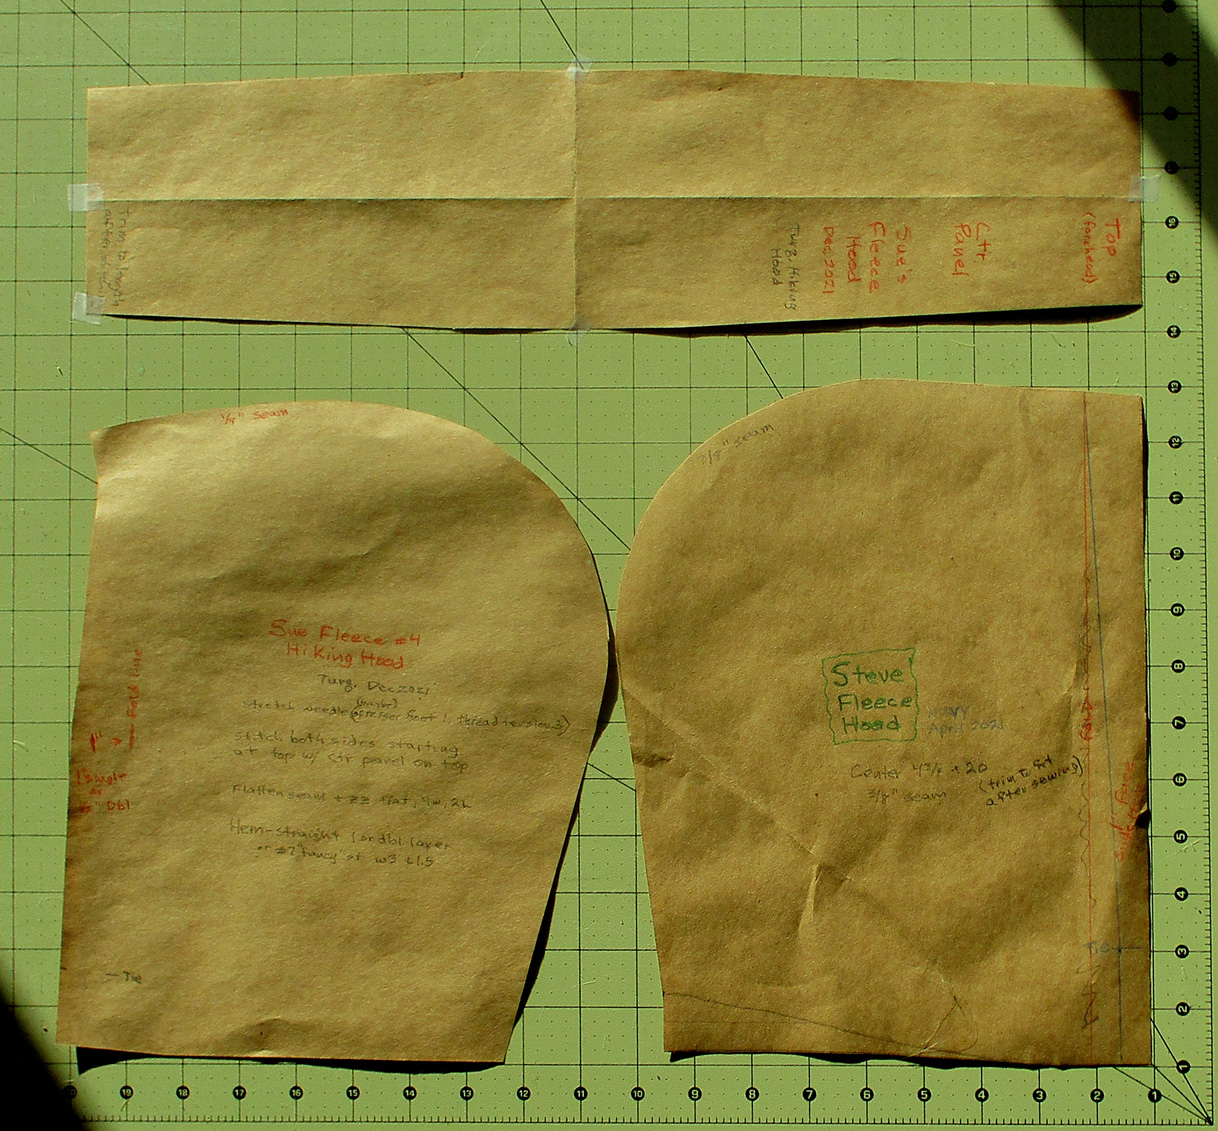
2021 -- Hooding my Jackets When we got serious about hiking the fall/winter of 2020-21 we often discussed enhancements to our wardrobe when out on a hike, especially when temperatures were below freezing and with the common brisk winds. Over time our gear and clothing progressed, through trial and error and additions, to make for more comfortable outings. One of the last things on my list was to add hoods to all my coats and jackets. I thought it strange that none of the many windbreakers I owned had hoods! I started with making a simple "sleeping hood" for Steve out of some scrap fleece, for overnight camping as suggested and recommended by the lightweight backpacker guru Ray Jardine. It would have been easiest to make a simply 2-piecer but we both preferred the 3 piece hood. So I drew up a rough pattern based on different hoods on hand, sewed it up, made adjustments, attached ties and there it was. It was nice to have a fairly easy sewing project for a change! Next were nylon hoods for my windbreakers, each jacket a different design. This made it more of a challenge, as did working with thin slippery fabric, and I spent quite a bit of time sewing up, adjusting patterns, do another, adjust some more, etc. They all work fine but the last one fit the best. Some months later I got around to adding heavier fabric or fleece hoods to several down jackets that I wear mostly for hiking, plus two stand-alone fleece hoods, each with its own adjusting and pattern making. So I now finally have a good pattern that fits just how I like it, and no more hoods to make. But that is the way of DIY sewing. In use they have been great, so easy to flip up onto your head, then off as the wind dies down or you warm up. It turns out that I use the separate fleece hood a lot when hiking/snowshoeing. Though not quite as easy as an attached hood since it's a separate piece to manage, but it turns with your head so doesn't obstruct vision and is comfortable. The fabric I used is one-sided fleece, smooth on the other side which I made the inside. So it slips easily over my wool toque. For a sleeping hood I'd put the fleece side in. Pattern Making and Sewing My design has a center panel which fits the head better and avoids the peaked elf look of a simple two-piecer. (However, there is nothing wrong with the latter and with a full draw-string around the face it suffices just fine, if that suits you and your sewing skills.) The three piece pattern does make it a bit trickier to draw a pattern from an existing hood, but if you make your first one out of fairly sturdy, easy to sew scrap cloth, or maybe light fleece, knowing it is a draft and you will make adjustments to fit, then just go at it as best you can. Then come up with your final pattern from that. I like brown kraft paper for patterns. To help get you started here is a photo of my patterns, taken on a 1"x1" grid. Click on the photo to go to a larger image that you could copy and print. Then use the grid to draw a starting pattern for yourself. The side panel piece on the right is Steve's hood; the one on the left is mine, more fitted. The center panel is for my hoods. For Steve's fleece hood the center panel is a simple rectangle 4 3/4" by 20".
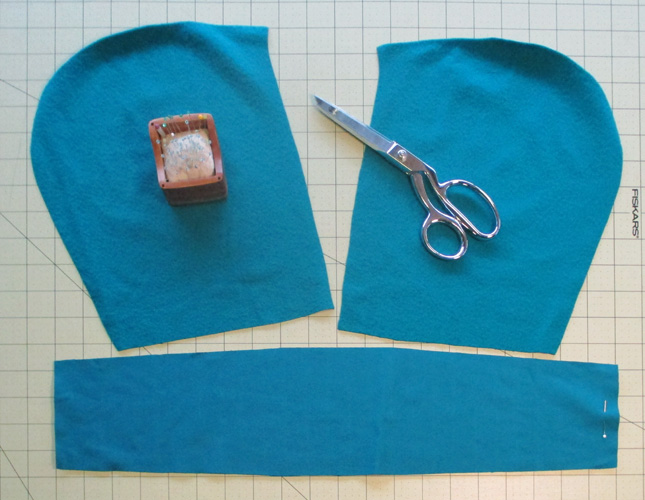
CUTTING -- for many synthetic fabrics it is sometimes better to cut the side pieces individually rather than both at once from a folded piece of fabric. This helps eliminate the problem of one piece slipping as you cut. There are only three pieces total.
SEAMS -- for fleece a 1/4"-1/2" seam works, the smaller seam allowance for lighter fleece (what the patterns above are sized for). For heavy fleece a wider seam allowance is easier -- keeps you from slipping off the edge when stitching. Then you can trim it close when done. It On some hoods I zig-zag stitched over the seam when done to flatten it some. That worked nice if done inside up so you can make sure the edges go flat.
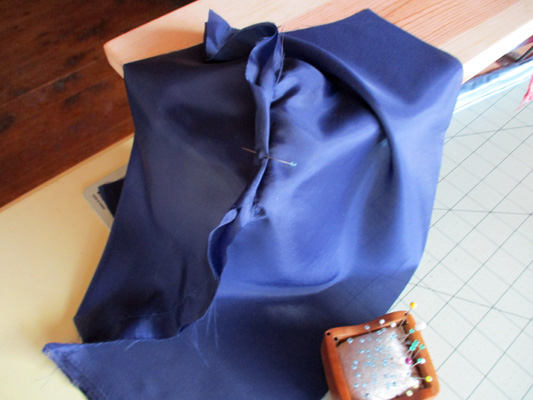
For nylon or synthetic fabric that frays you could zig-zag the edges then sew the seam flat but it might look a little rough. My first try with the nylon hoods I double folded the seam flat then stitched it, all in one step. That worked but it was challenging to keep it all together and it didn't turn out as neat as I would have liked.
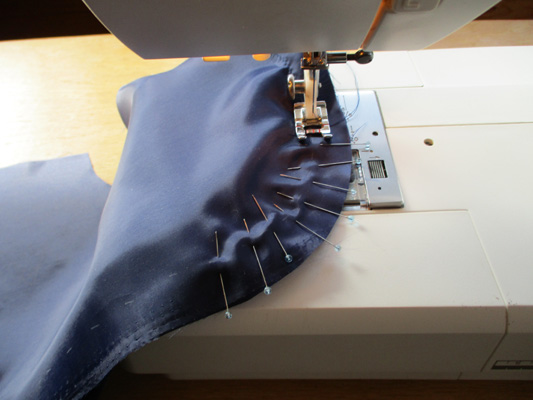
Better was to stitch the 1/2" seam, then double fold under and stitch down to one side. It is challenging to work with slippery fabric around the curve when you go to flatten the seam. Using a lot of pins helps. A less slippery fabric also makes it easier.
You might also sew a ribbon or band on top of the seam. My suggestion would be to try out several options on scrap fabric, the same fabric you will be making your hood out of. Then pin a lot and go slow. FACE HEM -- I used a 1 inch allowance to fold in or out (depending on your fabric and preferences). With fleece I simply folded and stitched it flat. The fleece and heavier fabric hoods fit snug enough so I just attached simple ties at the bottom edge. Mostly those hoods go over a knitted toque for extra warmth.
With nylon I made a double fold casing to insert a cord with toggles on the ends to tighten the hood around my face. Turned out the hoods fit well enough I didn't need a tightening cord so I only did that on one. I could always add it later if I want.
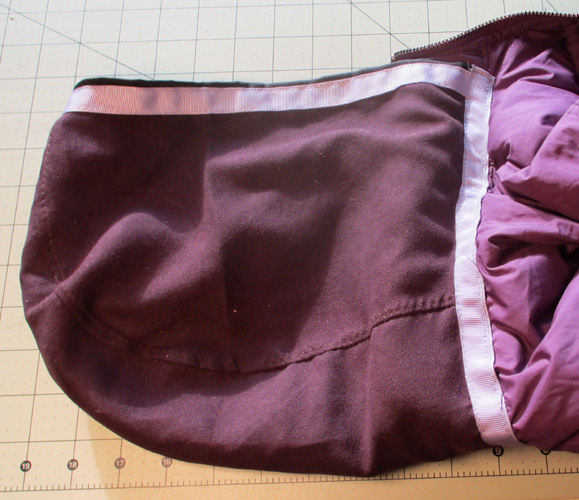
On one hood I stitched on a contrasting ribbon. Lots of options here.
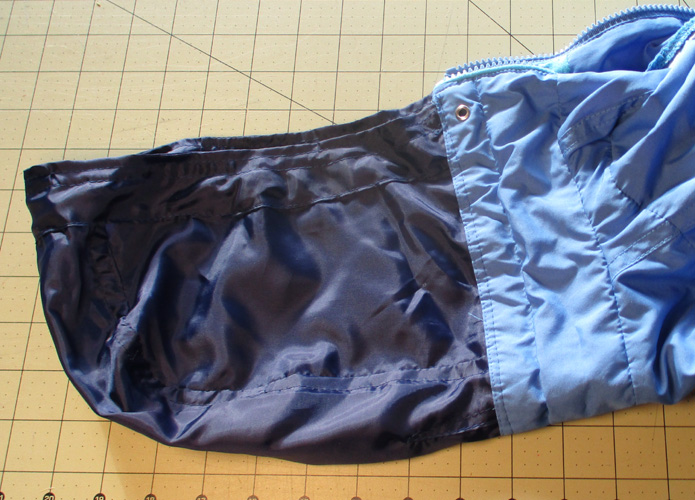
BOTTOM EDGE -- Give yourself plenty of extra fabric here when cutting out your pattern. Each jacket, windbreaker, and coat I added hoods to was different in shape and style. On most I stitched the hood around the bottom outside of the collar. Two windbreakers worked best attached to the top of the collar. On all I trial pinned and adjusted after the hood was stitched together, trimming the bottom edge only when I was sure I had the fit I wanted. Be sure to try on over any hat you might wear. And be aware a backpack will pull your jacket down a bit so leave some ease for that. It was easiest to attach the hood with a piece of grosgrain ribbon or binding tape on the lighter hoods, stitching the tape to the hood first, then to the jacket. But you can also simply sew the hood to the jacket, turning under the edge. On an insulated coat, be sure as you sew along that you don't catch extra coat fabric. A BOOK that I've found helpful for working with outerwear fabric is "Sewing Outdoor Gear" by Rochelle Harper, published by Taunton Press (the "Threads" magazine folks). The whole book is full of information, tips, ideas, techniques. Hoods - sewing steps 2021 by Sue Robishaw* Decide on seam allowance -- add to pattern when cutting out if needed. * Cut two side pieces; one center panel. * Pin one side to center panel, starting
at the top (face), center panel on top * Attach the other side the same way,
starting at the top (face), center panel on top * Don't worry if the center panel is longer then the sides. If it ends up shorter you may need to add a piece. * Test fit hood, adjust seams if needed. Remember to try on over any hat you might wear under. * Fleece -- flatten seam and zig zap
stitch flat, inside up, down center or to one side of seam. * Turn the face hem in (or out) and test
fit. Adjust and trim if necessary. Either single or double hem. * If this is a stand-alone hood then
finish bottom as you wish. * To attached to a
jacket/coat/windbreaker/shirt, pin where you think it will go
then try on. * Trim, sew on binding tape if desired, pin to garment, starting at center back, careful to keep all flat. Stitch slowly. * Final fitting -- hope all is well! Add
ties (shoelace cut in half works nice) * Enjoy the extra warmth when needed. Make more hoods.
Copyright by Susan Robishaw |

|
Back to top |
|
|
|
|
* Should you want to use all or part of one of our articles in a non-profit publication, website or blog we simply ask that you give proper credit and link (such as "article by Sue Robishaw/Steve Schmeck from www.ManyTracks.com"), and we'd enjoy knowing where it is used. Thanks! We always appreciate links to our site www.ManyTracks.com from appropriate sites, and we thank you for recommending us! |
|
|
Have you read "Frost Dancing - Tips from a Northern Gardener"? A fun short read. or "Homesteading Adventures" Creating our backwoods homestead--the first 20 years.
and
"Growing
Berries for Food and Fun"
A journey you can use in your own garden. |